Hi everyone!
I hope everyone is having a great weekend! I was introduced to letterboxing today. It's kind of like geocache but without the GPS. We got to hike around a park and use clues to find boxes hidden around the park...It was fun--cold, but fun!
After a fun afternoon, nothing beats relaxing and crafting! I thought I'd combine two current challenges. One is from the
CAS-ual Fridays site and the other is from the
Wee Memories site. The Wee Memories site was gracious enough to let us have a "free for all" challenge and those are always fun b/c you can simply get creative without any restrictions. The CAS-ual Fridays site, however, had quite the creative way of displaying their challenge. Here it is:
I was intrigued the moment I saw the tic-tac-toe board! I started writing down all the possible combinations (as my husband sat there watching me and wondering what I was doing!) and then sat in my craft room wondering what would work best for me. Here's what I came up with...
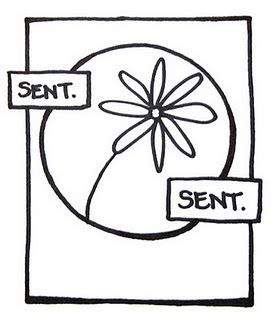
I decided I'd go straight down the middle for my card combo. I wanted polka dots, kraft, and orange. I knew I had some polka dotted orange pattern paper and it was a matter of finding it! I found the Bright and Basic Recollections paper pack. I used a sketch for the design and simply laid out the papers and then added the strip of kraft-colored paper down the center. The sentiment is from Hero Arts. I added the butterfly with a Fiskars punch (I think) and added some faux polka dots to it with a white pen. I added the faux stitches and then some buttons with pearls. Easy card--and easy to replicate. But I really enjoyed the way the challenge was laid out so I may try another combo before the challenge is over. :)
Have a great Sunday and thanks for stopping by!
Pat